Collecting fridge magnets from trips
Check a sliding souvenir's backing for loose glue, poor contact, and a recess that separates the magnet from the fridge. Plan the display from actual outlines and gaps. Eight two-inch pieces with 0.4 inch gaps occupy 18.8 inches across, before outer margins. Separate delicate fronts and hard edges when storing the rest.
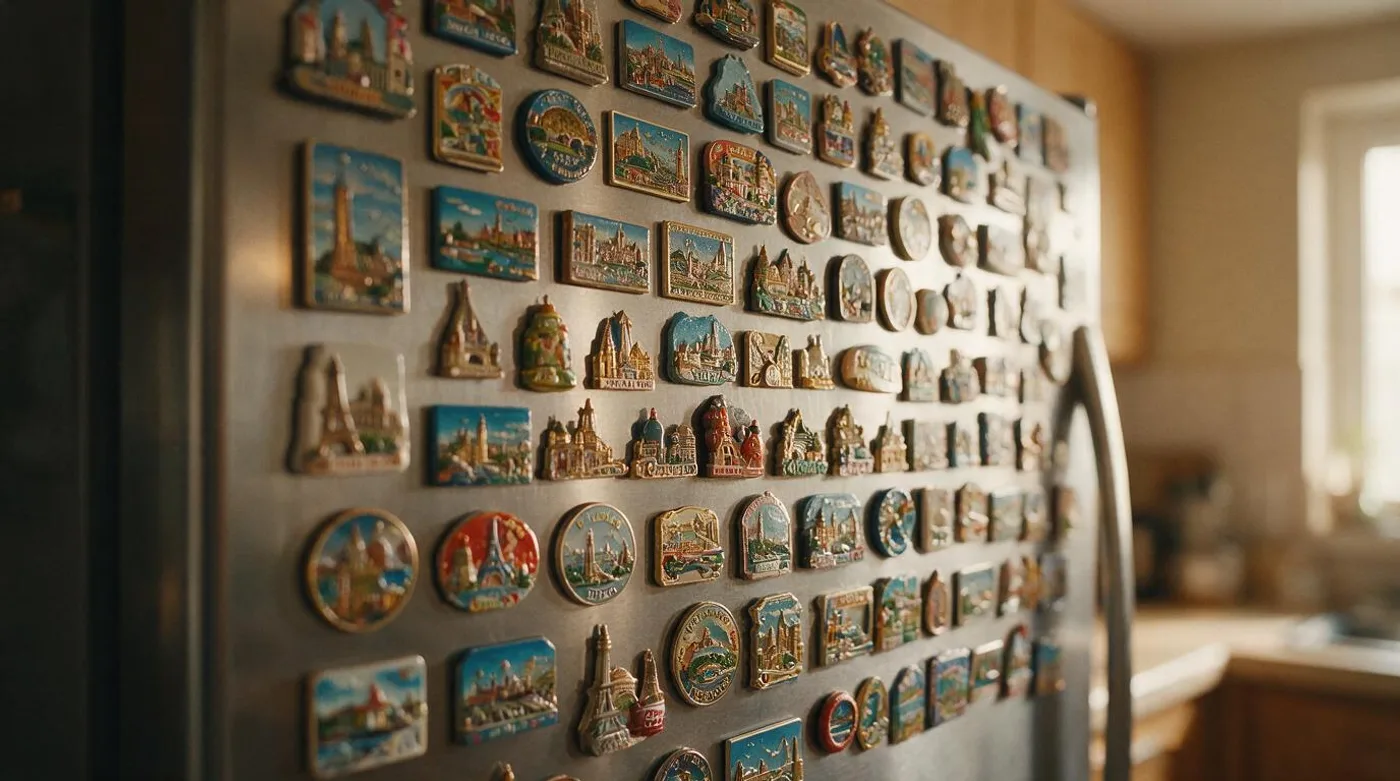
A collection can change shape without anyone rearranging it. A heavy casting slides below the row you chose, and another piece leans against it. When the fridge door opens, the crowded group can knock together. Take a sliding souvenir down and look at its back before letting it settle against the next one. A small display problem can otherwise become a chipped corner.
Turn the souvenir over and check where its magnetic face sits. Some cast souvenirs have a disc inside a molded recess; others use a flat backing pad. A raised rim can stop that face from contacting the door, while loose glue can let it tilt. The decorative outline does not tell you the backing's size. Measure the back separately if you are considering a repair.
Buying there, or printing your own later
These are two different hobbies that happen to end up on the same door.
A magnet bought on location can remind you of a shop and an afternoon as much as the landmark on its front. You may choose it in a hurry while someone waits outside. Later, a cathedral magnet can bring back the queue, the weather, or the person who helped you pick it. Keep that association in mind when deciding which pieces deserve the limited room on the door.
A magnet printed from your own photograph afterwards can show the people you were with, including someone who never appears on a gift-shop souvenir. It also requires an order and delivery after the trip. Compare the finished dimensions and the seller's construction description rather than assuming the print will grip better or last longer than a casting. We have not measured that comparison. Photo against souvenir sets out the different checks for each.
If you collect both kinds, try the bought pieces in a cluster and the printed photographs in a grid. You can also place one photograph beside the souvenir from the same trip. Use paper outlines when a new group requires moving several fragile castings. That lets you compare arrangements without repeatedly handling every magnet.
What is behind a souvenir
| Backing example | Dimensions | What to inspect |
|---|---|---|
| Small replacement disc | About 0.79 x 0.12 inch (20 x 3 mm) | Available recess and glue area |
| Larger replacement disc | About 0.98 x 0.20 inch (25 x 5 mm) | Clearance beyond the old disc |
| Disc in a molded recess | Measure diameter and recess depth | Whether the rim holds it away from steel |
| Flexible backing pad | Measure its width and height | Loose corners and uneven contact |
| Rigid printed magnet | Measure the finished outline | Actual backing and any projecting edges |
The disc dimensions in the table are examples of physical sizes to compare, not verified capacities. A supplier's pull rating belongs to a particular magnet and test arrangement. It does not establish how much weight a repaired souvenir will resist on a vertical painted fridge. We have not measured those examples, and the decorative front does not prove which magnetic material sits behind it.
Check the contact before choosing a replacement. Lay a straightedge across the outer back rim and see whether the magnetic face reaches it. If the rim stands about 0.04 inch (1 mm) beyond the face, the magnet meets the door through that extra gap. Check for glue lumps too. A backing that touches only at one edge may rock when the front is moved.
Gap and contact geometry affect magnetic attraction, but there is no fixed loss per fraction of an inch that applies to every souvenir. K&J Magnetics' pull calculator takes dimensions, grade, and distance as inputs and describes its results as approximations. Do not reduce a quoted force by a standard percentage for paint and present the remainder as a tested fridge capacity.
Weight still matters. A deep casting can ask more of its backing than a thin printed souvenir, even when both have the same outside width. Check each piece on the intended panel with space below it. If it slides, remove it rather than relying on another magnet to stop its travel. Inspect that panel and the backing for dirt before trying again.
Decide whether to replace the backing
Check whether the backing can be removed without damaging the souvenir. A cracked casting, firmly bonded disc, or valuable collectible may be better left alone. Contact the seller if a recently bought backing is loose. For an older piece, record its condition with a photograph before attempting a repair. An alternative display tray lets you keep a weak magnet without changing it.
If you replace the backing, compare the new disc with the available recess and the material around it. An example 0.79 inch diameter disc (20 mm) needs less room than a 0.98 inch diameter disc (25 mm). Thickness affects how far it projects beyond the casting. A larger face may improve contact in one arrangement and fail to fit another. Do not choose from diameter alone or attach a capacity to a generic craft-size disc.
Use an adhesive specified for both the backing and casting materials, and follow its preparation and cure instructions. Ask the adhesive maker before filling a deep recess with an improvised material. A repair should leave the magnetic face able to contact the intended surface without sharp edges reaching the paint. Let the bond cure fully before checking the souvenir on the door.
Keep replacement discs and damaged backing fragments out of children's reach. The CPSC magnet guidance warns about ingestion injuries from high-powered magnets. A small neodymium disc attached to a decorative front still needs a secure housing or attachment; the front's size does not prove the backing cannot come loose. Avoid casually upgrading a family display to loose high-powered components.
Arranging a collection that has outgrown a grid
Measure your clear door area rather than relying on a typical appliance width. In this worked example, each piece is two inches wide (50.8 mm), the gaps are 0.4 inch (10.16 mm), and the available width is 20 inches (508 mm). Eight pieces need 18.8 inches (477.52 mm). Nine need 21.2 inches (538.48 mm), so they do not fit in that example area. Include an outer margin when planning the group.
A grid can waste space when souvenirs have different outlines. A cathedral spire needs more height than a flat square, while a horizontal city name can interrupt several columns. Try a cluster that follows those outlines instead. Leave enough separation to remove one piece without scraping its neighbor. Put heavy or delicate castings where you can lift them easily, rather than above a group that would catch a falling piece.
Grouping by trip keeps related memories together, while grouping by color can make irregular shapes easier to arrange. Try both with the paper outlines. If a new trip adds several pieces, move the whole group on paper first rather than squeezing them into a gap beside the handle. Keep a photograph of the arrangement when you take magnets down for cleaning.
Check the clearance beside the handle with your hand and with the door moving. You might reserve about three inches (76.2 mm) as a starting space, then adjust it for the actual appliance. That is a layout choice, not an appliance specification. Keep magnets out of the path where a wrist, bag, or neighboring door could knock them off.
Storing what does not fit
A collection that has outgrown the door needs separated storage. Loose pieces can attract one another in a drawer and bring hard edges against decorated faces. Put the fragile castings apart from the flat printed souvenirs, and support any projecting spires or lettering. Keep a list or photograph if you want to rotate groups without emptying the entire box.
A tin lid or steel tray may offer another surface for storage. Test it first, then place the magnets with space around their outlines. If you mount a separate display panel, use a finished product with protected edges and fix it according to its maker's instructions. A tray stored horizontally can support a casting that does not stay in place on a vertical fridge.
If they have to go in a box, put card between the layers and keep the heavy castings apart from the thin printed ones. How to store magnets has the detail, including why you should keep the whole box away from anything with a magnetic stripe on it.
Choose a number of display spaces that you can remove and clean without an awkward pile on the counter. For example, you might show fifteen pieces and store the rest, then bring out another trip later. That count is a suggested routine, not a threshold for a good collection. Save the layout photograph with the storage list if you want to return to it.
Keeping the paint intact
Check the fridge maker's care instructions before choosing cleaning products or applying pads. Dirt caught behind a hard backing can rub against the finish when the souvenir moves. Clean the backing and the intended patch of door, then inspect for a projecting rim or rough seam. If a magnet leaves a mark, take it down while you work out whether the mark is residue or damage.
A protective pad can also change the contact geometry. If it projects farther than the magnetic face, it creates another gap. Inspect the whole back after adding one instead of assuming the same hold. If you cannot protect the finish without making the souvenir slide, use a separate tray or display board for that piece.
Support the front when removing a heavy souvenir and follow the maker's instructions where supplied. Avoid dragging a dirty or sharp backing across the paint, and do not pry a delicate casting against the door. Stop if the front flexes away from its backing. Do magnets scratch fridges covers the contact checks to make before returning a piece to the display.
Printing your own travel photographs
Look through the trip photographs for a subject that adds something the bought souvenirs do not show. A family meal or the view from your rented room may fit beside a city-name magnet better than another picture of the same landmark. Keep the original photograph and make a separate cropped file for the print.
At magnet sizes, a distant person can become hard to recognize. A 2 x 3 inch rectangle (50.8 x 76.2 mm) and a 2.5 inch square (63.5 mm) leave limited room for a wide view. Try frames with a person nearby or a clear subject, such as a doorway or a boat. Print a paper preview at the intended size before choosing the crop. The souvenir magnet guide covers checking the front and back of the bought pieces that will share the display.
For printed travel photographs, Fresh Magnets' photo magnet collection gives you fixed-size options to compare with the souvenir pieces already in your collection. Use paper outlines to check a mixed arrangement before ordering. It describes a pressed shell with a protective finish; we have not measured its hold or lifespan against a souvenir. The photo magnet construction guide explains the different assemblies, and the layout planner helps calculate a repeated row or grid.
Frequently asked
Why does my souvenir magnet slide down the door?
Check its weight, magnetic contact area, and any recess behind the casting. A rim projecting about 0.04 inch (1 mm) beyond the magnetic face creates a gap. There is no universal percentage loss per fraction of an inch; the result depends on the magnet and surface.
Can I make a weak souvenir magnet stronger?
A replacement backing may improve contact, but it can also damage the souvenir or protrude awkwardly. Compare the available space with the replacement's actual dimensions and use an adhesive suited to both materials. A disc's size alone does not establish its holding capacity.
Is it better to buy magnets on the trip or print photos afterwards?
Bought ones carry the place and the week you were there. Printed ones can show the people you traveled with. Compare the finished dimensions before adding a 2.5 inch square to a mixed collection. We have not measured a lifespan or pull advantage for either construction.
How do I stop magnets marking the fridge paint?
Clean the backing and door according to the fridge maker's care guidance, and inspect the back for sharp edges. A protective pad changes the contact gap, so check the arrangement again after adding one. Use a separate display board for a souvenir that cannot sit without marking the finish.