Check the envelope before ordering the batch
Plan a save-the-date mailing around the complete packed item. Measure the magnet, protective sleeve, and envelope together, and check the carrier's rules for size, weight, and rigidity. Count delivery addresses, add the spares you need, and test a finished sample before committing to the full batch of magnets.
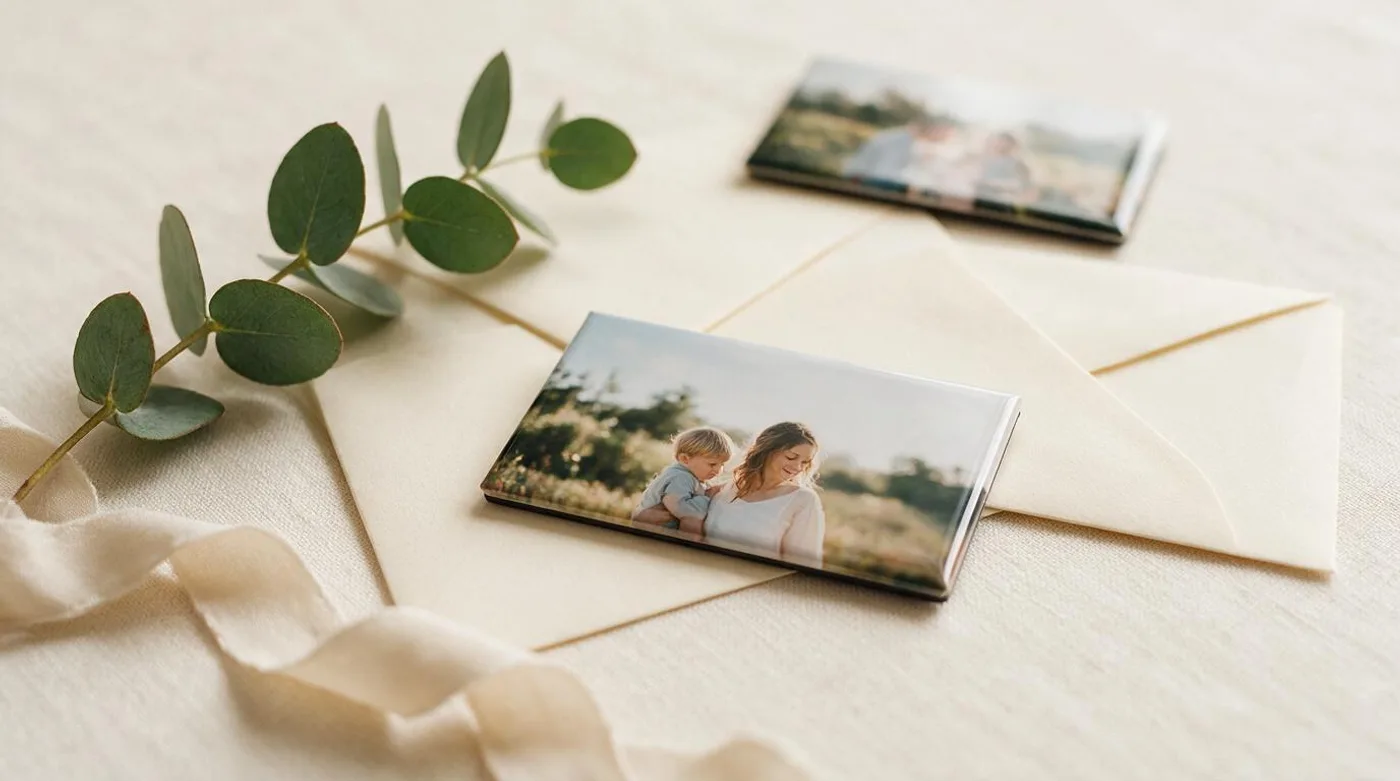
Sixty guest names do not necessarily mean sixty envelopes. A couple sharing an address may receive one save-the-date magnet, while relatives living apart need separate mailings. Before choosing a batch size, count the addresses and make one complete mailing. The envelope, insert, and magnet together determine what you need to pack and what the carrier needs to assess.
Build one complete mailing
Put a sample magnet in the sleeve or protective insert you plan to use, then seal the actual envelope. Include the card, liner, or other enclosure you intend to send. Record the outside length and height, the greatest thickness, and the packed weight. An empty envelope's measurements will not reveal the bump made by a rigid magnet or several overlapping inserts.
Check whether the magnet moves when you turn the envelope on its side. If it slides to a corner, the contents may reach a seam or create a different thickness from the one you measured. A sleeve protects a face, but it may need another insert to keep it in place. Choose a method that allows the recipient to remove the magnet without pulling adhesive off its printed surface.
The outline matters before you add protective material. A round magnet's stated diameter is its full width and height. A 2 x 3 inch rectangle needs room along both dimensions, and a sleeve can extend beyond the magnet on every side. Cut a paper outline to check initial fit, then use a physical sample for thickness and weight. Paper cannot imitate the rigidity of a pressed shell.
Use the sizes and thickness guide to separate the finished magnet dimensions from the printable area. Follow the seller's template for the date and names, especially near a shaped edge. A date that appears safely inside a rectangular preview may sit too close to the edge of a round design. Print the artwork at its intended size and read it from the distance at which someone would look at a fridge door.
Fresh Magnets' save-the-date photo magnet collection is one product reference for these checks. Its prepared catalogue includes five sizes: two squares, a 2 x 3 inch rectangle, and two rounds. It describes a rigid pressed shell with a protective finish, so include rigidity in the mailing assessment. The public store currently shows a coming-soon message; confirm availability and ask about samples before planning a batch around it.
Check dimensions and rigidity with the carrier
For US mail, USPS lists letter dimensions of at least 5 inches long and 3.5 inches high, with maxima of 11.5 inches long, 6.125 inches high, and 0.25 inch thick. Those measurements describe the complete mailpiece. A small magnet inside a small envelope does not automatically meet the minimum size. USPS's domestic dimensions page gives a quick reference; use its detailed standards for classification.
Thickness is only one check. The USPS retail physical standards include rigidity and uneven thickness among the reasons a letter can be nonmachinable. Square envelopes can also fail the letter aspect-ratio requirement. Moving to a larger envelope does not settle the question, because flat-size mail has flexibility and uniform-thickness requirements. Ask the carrier to assess your sealed sample before purchasing postage for every address.
Write down the service and postage quoted for that sample, along with the contents used. If you later substitute a thicker insert or add a second card, repeat the assessment. Buying more stamps cannot fix packaging that the carrier will not accept. Keep one identical reference mailing beside the packing area so every envelope in the batch follows the assessed arrangement.
For international addresses, check the destination and the carrier's current requirements separately. A domestic assessment does not establish the service, price, or documentation for another country. Sort those addresses into their own group while you are preparing the list. You can then gather the information needed without interrupting the domestic batch halfway through packing.
Count addresses and spares
Keep one row per delivery address, rather than one row per invited guest. Add the names that belong on that envelope to the same row. Review couples with separate homes and households with more than one invitation group before combining them. Confirm addresses with the people concerned if your list is old, and record who has checked each row.
Mark hand-delivered copies separately. They still count toward the magnet order, but they do not need postage. If someone helping with the wedding wants a keepsake, add that copy explicitly rather than taking it from the mailing pile later. Keep replacement copies in their own envelope or box so they remain available when an address changes.
| Item | Example count |
|---|---|
| Delivery addresses | 60 |
| Copies to keep | 2 |
| Replacement spares | 3 |
| Total needed | 65 |
The figures are a worked example, not a spare allowance for every wedding. Here, 60 delivery addresses plus two copies to keep and three replacements require 65 magnets. Choose your own spare count. If the guest list is still changing, keep track of the unsettled addresses instead of hiding them inside a percentage.
Compare that total with the seller's offered packs and the designs permitted in an order. A 50-pack is short of 65; a 100-pack leaves 35 beyond the example requirement. Smaller packs might bridge the gap, depending on how the seller handles combined orders. Compare the complete cost, including shipping, before deciding. The quantity comparison guide explains the arithmetic without treating the cheapest price per magnet as the cheapest order.
Count envelopes and protective inserts from the mailing list too. In the example, the two keepsakes need no addressed envelopes. Replacement copies may need packaging later, so keep enough supplies for them. Record the quantities for magnets, envelopes, and mailed copies in separate columns; they describe different parts of the job.
Check the packed sample
Send a test mailing if your schedule allows it. Ask someone to photograph the envelope before opening it and then check the magnet's face and edges. Look for a torn seam, a displaced insert, or a magnet that has rubbed against another enclosure. One successful delivery is a useful check of that arrangement, though it cannot guarantee the condition of every envelope in a batch.
Allow time for the sample to reach you, for postal assessment, and for any packing revision before the planned mailing day. Production or dispatch estimates do not include all those stages. If a physical sample is unavailable, the packaging assessment remains unfinished. A screenshot or nominal product diameter gives you no measured packed thickness.
Confirm the date, names, and destination details against the final artwork before approving the batch. Then pack beside the address list, checking one row at a time. Mark each mailing as sealed only after its contents and label match. Hold back any row with an uncertain address, and keep the reference sample until the last replacement has been sent.
Frequently asked
Can a rigid magnet go in an ordinary envelope?
It depends on the packed dimensions, weight, rigidity, and carrier rules. Have the actual packed sample assessed before buying postage.
How many magnets do I need?
Start with the number of addresses receiving one. Add any copies for your records, replacements, or separate households.
Should I measure just the magnet?
Measure the whole mailing. A sleeve, card insert, and envelope can change its thickness and handling requirements.