Measure the part that needs to fit
Record a fridge magnet's finished width and height, or its diameter, separately from the visible print area. Measure thickness through the whole assembly when checking a sleeve or storage box. Listings may round inch sizes to millimeters, so use the seller's confirmed finished dimensions when the fit is close.
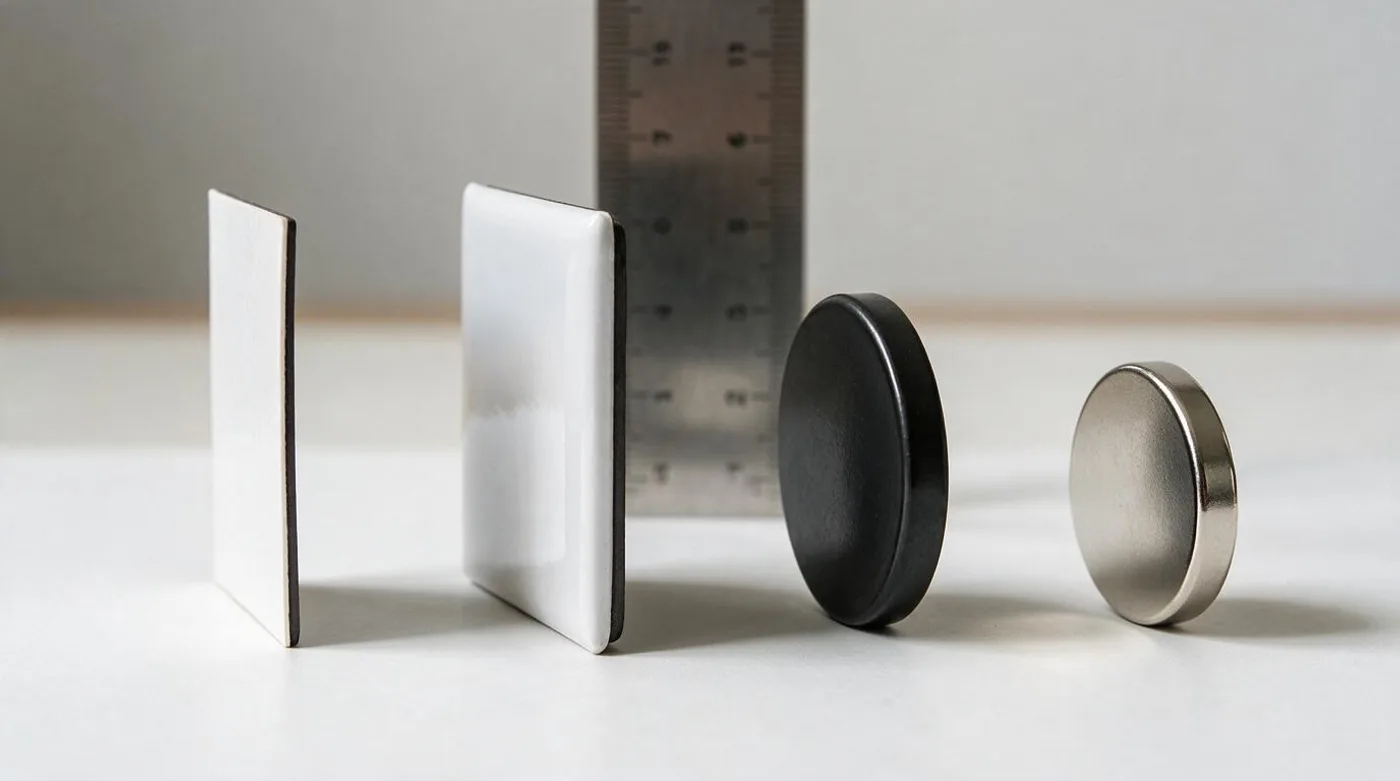
Seven 2.5 inch square magnets occupy 17.5 inches before you add any gaps. A picture of the pack cannot tell you whether that row clears your refrigerator handle, fits a storage tray, or leaves room to lift the last magnet. Measure the space and the finished magnets separately.
A fridge magnet has several dimensions that answer different questions. Its outer width determines where it fits. Its visible picture area determines what survives the crop. Its overall thickness determines whether a sleeve or box can close around it. Keep those measurements under separate labels so a print template cannot become a mistaken packing specification.
Measure the finished outline before planning a display
For a square, measure between opposite outside edges. For a rectangle, record width and height in the orientation you intend to display. A 2 by 3 inch rectangle becomes 3 inches wide when you turn it sideways. Measure a round magnet across its center rather than along a shorter line near the edge. Include any rim in the outside measurement.
The dimensions below convert common catalogue outlines. NIST's conversion table gives the inch conversion; one inch is exactly 25.4 mm. Exact conversion tells you the equivalent unit, not the manufacturing tolerance of a physical magnet.
| Listed outline in inches | Exact metric equivalent | Dimensions to record for fit |
|---|---|---|
| 2 by 2 inch square | 50.8 by 50.8 mm | Width and height across outer edges |
| 2.5 by 2.5 inch square | 63.5 by 63.5 mm | Width and height including the rim |
| 2 by 3 inch rectangle | 50.8 by 76.2 mm | Both directions in display orientation |
| 2.25 inch round | 57.15 mm diameter | Diameter through the center |
| 3 inch round | 76.2 mm diameter | Diameter through the center |
Those five shapes also appear in the Fresh Magnets photo magnet collection. We use the catalogue here as a set of size examples; it does not supply finished tolerances or overall thickness. Confirm the finished specification if you are buying a closely fitted holder. The public shop currently shows a coming soon notice, so catalogue dimensions do not establish present ordering availability.
A ruler usually gives enough information for a loose door layout. If the fit is tight, use calipers gently or ask the maker for the finished dimension and tolerance. Check more than one piece when you have a pack. Record the widest result for a holder that must accept every magnet. Avoid squeezing a flexible sheet or marking a printed face with the measuring tool.
Cut paper outlines at the listed sizes and tape them temporarily within the available area using a method suitable for your appliance finish. This checks the arrangement before ordering without pretending the paper shows thickness or magnetic contact. Our size visualizer compares individual outlines; use a ruler on the paper rather than assuming the screen is displaying at life size.
Add gaps and margins to the row calculation
For identical magnets, row width equals the number of magnets multiplied by their width, plus the number of spaces multiplied by the chosen gap. A row of seven has six spaces between magnets. Add outside margins separately when the layout calls for them.
Seven 2.5 inch squares with 0.25 inch gaps use 19 inches. The magnets occupy 7 x 2.5 = 17.5 inches, and the gaps occupy 6 x 0.25 = 1.5 inches. If you also want a 0.5 inch margin at each end, reserve 20 inches overall. The 19 inch row converts to 482.6 mm, but inches remain the input for this example.
Suppose a clear door area measures 18 inches wide by 24 inches high. A 7 by 9 grid of 2 inch squares with 0.25 inch gaps occupies 15.5 by 20 inches. Seven widths plus six gaps make 15.5 inches. Nine heights plus eight gaps make 20 inches. Centering that grid leaves 1.25 inches at each side and 2 inches above and below. It holds 63 magnets if every position is usable.
Measure the usable area while the door is closed, then check the handle path and any nearby door swing. A dispenser, control panel, or strongly curved edge can remove part of the apparent rectangle. Draw those exclusions on your paper layout. The layout planner can calculate a grid, but your measurements must describe the part of the door where magnets can sit.
Round magnets still need room between their outside edges. On a rectangular grid, use their diameter as the width and height for each position. Staggered rows need a separate drawing because diagonal neighbors can approach each other. Keep enough space to lift a magnet without pressing on the neighboring face. The gap you prefer is a handling choice, not a universal specification.
A square and a circle of the same stated width do not provide the same corner space. A 3 inch round fits inside a 3 by 3 inch square outline, so content near the square's corners falls outside the circle. Make the crop preview round when you check a round product. The photo magnet guide explains why the printable picture and finished assembly need separate checks.
Leave extra room when the maker has not published a tolerance. A nominal 2.5 inch magnet in a sleeve with a claimed 2.5 inch internal width could be too tight even before seams or the magnet's depth take up space. An outside envelope width also differs from its clear internal width. Ask which dimension the packaging seller has measured.
Measure the complete thickness and the visible print area
A sheet specification can describe only the magnetic material beneath the image. A shell specification can describe the shell without its fitted backing or raised front. For packing, request the overall thickness through the finished assembly at its thickest point. The construction comparison shows why one material thickness cannot describe every magnet style.
Do not substitute an assumed shell depth for a missing measurement. As a hypothetical packing calculation, ten magnets each measured at 0.16 inch thick would total 1.6 inches if they formed a perfectly flat stack. Nine separators each measuring 0.01 inch would add 0.09 inch, making 1.69 inches before padding. Raised rims, a bowed sheet, or surfaces that nest together can change the actual stack. Measure the packed sample rather than ordering a tray from multiplication alone.
Check the sleeve opening with a finished sample. The magnet needs room to enter, and the packaging may bend around its front and back. Try the intended insert too. A sleeve that fits the bare magnet can become tight once a backing card joins it. Close the finished package, measure its outside dimensions, and check whether the front presses against a fold or seam.
Keep the artwork template with the physical specification. The visible face may be smaller than the outer outline because a rim, border, or wrapped edge occupies space. Bleed extends artwork beyond the intended visible edge so a small alignment change does not expose an unprinted strip. The safe area keeps faces and text away from that edge. Follow the seller's actual template rather than deriving safe margins from the outside size.
Print a draft at the intended face size to check reading distance. A phone number that looks clear when enlarged on a monitor can be difficult to read across a kitchen. If the design needs more room, choose a larger available outline or reduce the text before placing an order. Increasing file resolution will not increase the physical size of the lettering.
Record the selected outline, measured width and height or diameter, overall thickness, and the packaging used. Add the measured sample's order reference. If a later batch changes backing or shell, check it again before reusing sleeves bought for the earlier batch.
Frequently asked
Is a 2.5 inch magnet exactly 64 mm?
No. 2.5 inches is 63.5 mm. A listing may round it to 64 mm. Check the finished dimensions and tolerances if that difference matters.
Does the printed area equal the finished size?
A rim, border, or wrapped edge can reduce the visible area. Check the print template separately from the outer dimensions.
Can thickness predict holding strength?
Thickness alone cannot. Material, backing area, surface contact, gaps, and test conditions also matter.