Fridge Magnets are not only practical gadgets, but also home decorations that show your personality. Instead of buying a thousand different styles, why not make your own exclusive designs?
we share 5 kinds of zero-basic operable household Fridge Magnets making method
from children’s handmade to advanced resin art full coverage, with a list of materials and pit avoidance guide.
I. Basic tools and materials preparation
(Suitable for all methods, total cost within about 50 dollars)
- Magnetic materials: soft magnetic patches (purchased online), strong magnet sheets, scrap magnetic cards
- Adhesives: hot melt glue gun, strong double-sided tape, epoxy resin glue
- Decorative materials: ultra-light clay, acrylic paints, photo stickers, dried flowers, sequins, etc.
- Auxiliary tools: scissors, ruler, clear nail polish (for sealing)
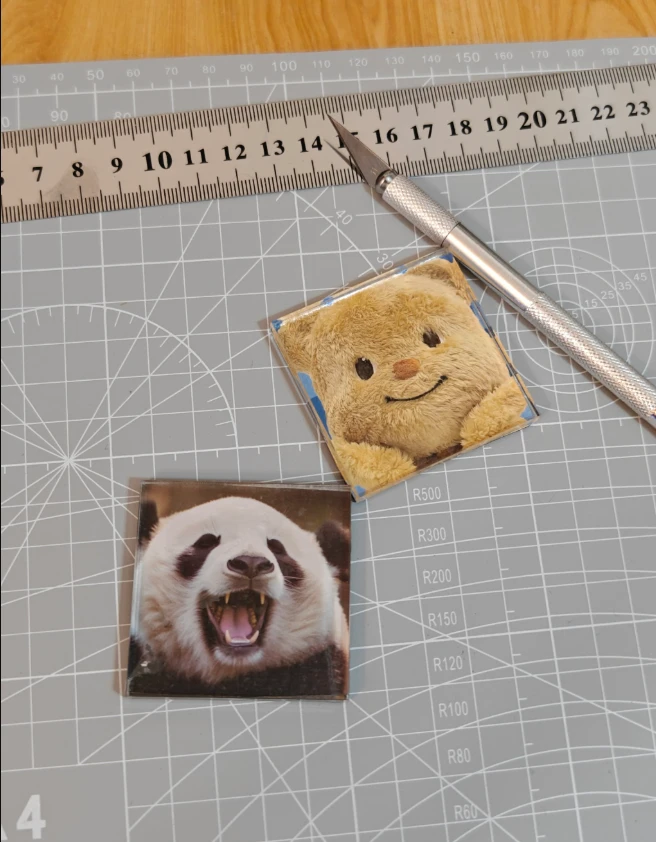
*(Schematic diagram: Combination of common DIY materials)
II. 5 Creative Production Methods*
**Method 1: Soft Fridge Magnets Transformation Method (easiest!)
Suitable for people: children, handicapped people
Steps:
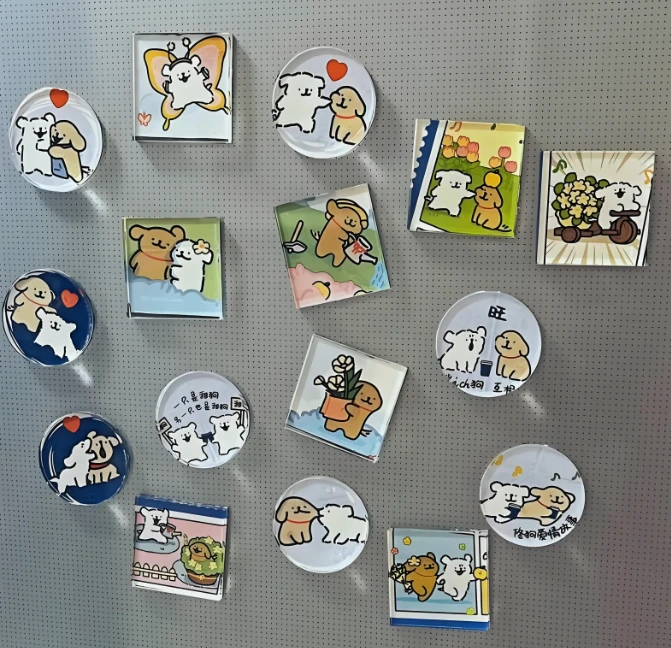
- Cut the shape: cut the soft magnets into basic shapes such as circle, star, etc;
- Decorate the surface: hand-paint the pattern with acrylic paints, or paste photos/stickers;
- Sealing protection: apply a coat of clear nail polish to prevent the color from fading.
Advantages: 10 minutes quick production, can be made in bulk!
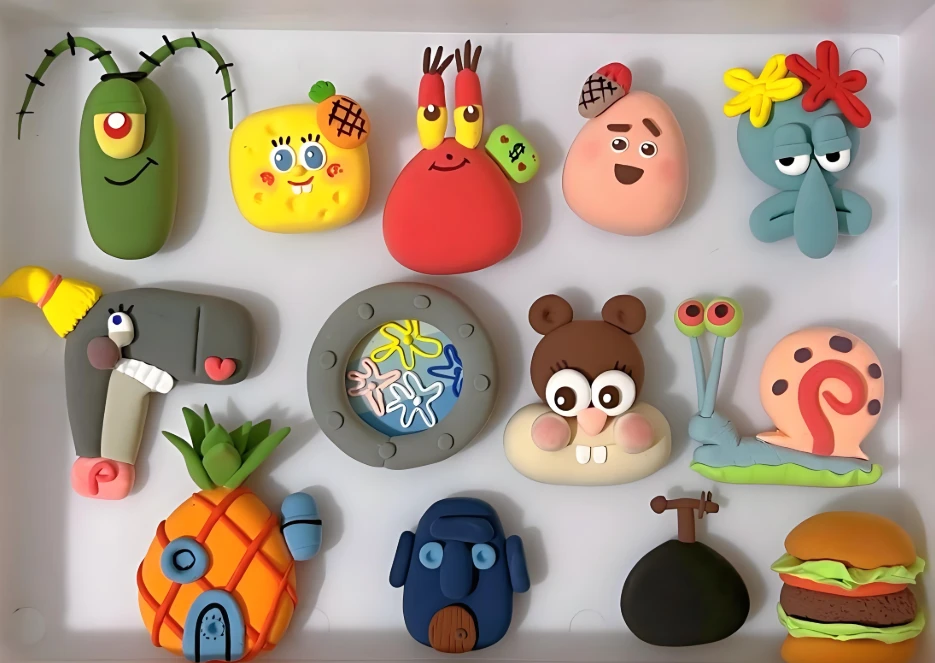
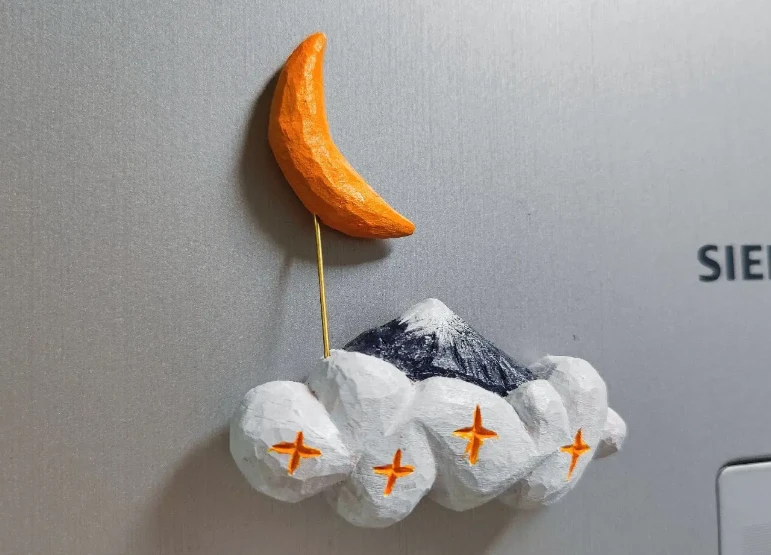
Method 2: Ultra-light clay three-dimensional magnet stickers
Suitable for people: Crafts enthusiasts who like pinching and molding
Steps:
- Shaping: Pinch the clay into three-dimensional shapes such as animals, food, etc. (thickness <1cm);
- Drying: dry naturally for 1-2 days or bake in the oven at a low temperature (follow the clay instructions);
- Paste magnets: Use hot melt glue to stick the magnetic pieces on the back.
TIP: Apply glossy oil after drying for a more advanced texture!
**Method 3: Resin Drip Magnetic Stickers (Premium Texture)
Suitable for people: creators who are looking for artistic effects
Steps:
- Mold preparation: choose silicone molds (love hearts, leaves and other shapes);
- Mixing resin: Mix AB resin glue according to the proportion, add color essence or glitter;
- Molding and curing: Pour into the mold and leave it for 24 hours to demold;
- Add magnet: Use epoxy adhesive to stick neodymium magnet (stronger magnetism).
Note: Wear gloves when operating and keep ventilation!
Method 4: Reuse of waste materials
Creative Inspiration:
- Bottle cap magnets: clean beer bottle caps, stick patterns inside + seal resin glue;
- Button magnets: stick colorful buttons on the magnetic sheet with a glue gun;
- Lego Magnetic Stickers: stick the magnetic strips on the bottom of the lego blocks.
Environmentally friendly and save money, suitable for parent-child crafts!
Method 5: Personalized photo magnets
Steps:
- Print photos: print thumbnails on photo paper (size 3×3cm is best);
- Over plastic sealing layer: cover with transparent cold laminating film to prevent moisture;
- Paste Magnetic Sheet: cut and paste a strong magnetic strip on the back.
Advanced version: Embed the photos into the drip mold to create a three-dimensional effect.
III. Key Techniques and Pit Avoidance Guide*
- Magnetic reinforcement:
- Large-area magnets are pasted with multiple magnetic sheets scattered;
- Heavy decorations with neodymium magnets (online shopping search “strong neodymium magnets”).
- Anti-shedding treatment:
- Be sure to dry clay/resin work thoroughly before gluing magnets;
- Use epoxy resin glue (stronger than hot melt glue).
- Safety Tips:
- Avoid using small magnets for children’s operation (to prevent accidental swallowing);
- Keep resin glue away from open flame and keep clay out of eyes and mouth.
**IV. Inspiration to expand: make the magnets more meaningful
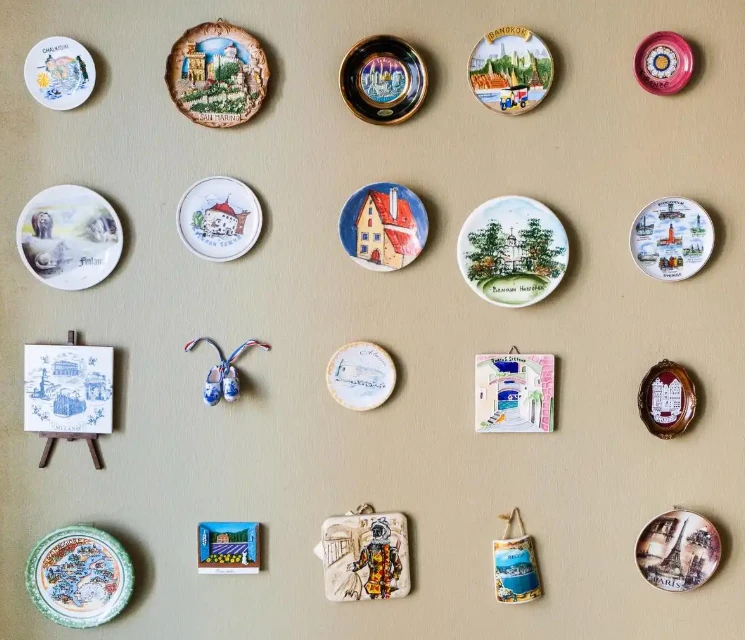
- Souvenirs: stamps and tickets collected while traveling are made into magnets;
- Family interaction: make message board magnets and write daily menus in chalk;
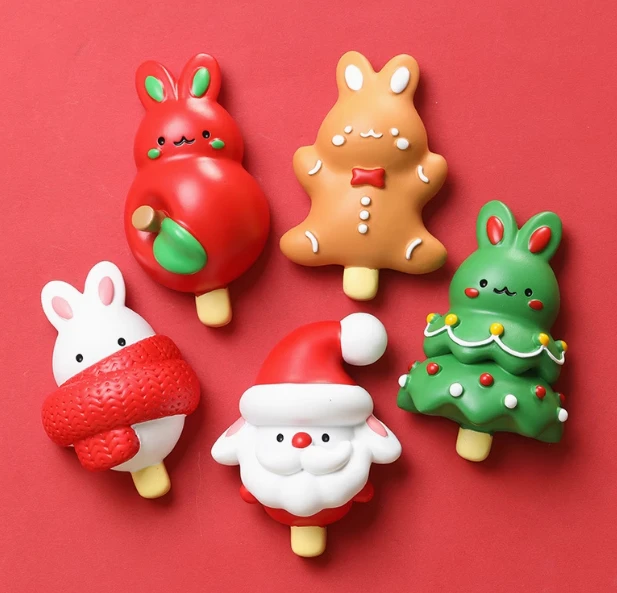
- Holiday theme: pinching snowman magnets at Christmas, making red envelope shapes for Chinese New Year.
—.
Hands-on Tips: The first time making is recommended to start from soft magnets or clay, and then challenge resin after skillful! When finished, it can be packaged in a gift box and given to friends as a warm gift.
(Note: The picture in the article is an illustration of the effect, the actual production can be adjusted according to personal preference for color and shape.)